
Cabinet width is not the first buying measurement. The real question is whether an organizer can enter the opening, clear the hinges, extend past the doors, and leave both valves reachable. Once the bottles come out, a rectangular vanity often reveals a centered drain, valves filling side space, and a hinge crossing the proposed drawer path. Buying by nominal vanity size turns that hidden geometry into a failed purchase.
Empty the bathroom vanity before measuring the cabinet
An accurate under-sink plan starts with an empty, dry vanity. Remove every bottle, liner, loose shelf, and disposal item. Count and measure only the products that will return.
- Empty the cabinet. Separate medicines, chemicals, aerosols, and personal-care products. Keep hazardous products in their labeled original containers. Do not mix leftovers or transfer them into food containers. Products that are ignitable, reactive, explosive, corrosive, or toxic may require special disposal. The EPA household hazardous waste guidance directs households to follow product labels and local disposal programs because accepted materials vary.
- Remove unwanted products safely. The FDA identifies authorized take-back locations or mail-back programs as the preferred disposal route for most unused medicines when an eligible program is available. Obscure personal information on empty prescription packaging, following the FDA medicine disposal guidance. For pesticides, read the disposal directions on the label and follow applicable state and local rules under EPA pesticide disposal guidance.
- Inspect the cabinet floor. Stop if the floor is wet, swollen, soft, or stained. Repair an active leak before measuring for permanent storage.
Which bathroom products must remain upright and easy to reach?
Record the bottle count, tallest bottle height, widest item width, and deepest item depth. Mark products that must remain upright according to their labels or manufacturer instructions.
- Daily: toothpaste, cleanser, and frequent-use items.
- Weekly: treatments and grooming tools.
- Refill: unopened bottles and duplicate supplies.
- Disposal: expired or unwanted products awaiting proper handling.
This inventory defines storage demand. The cabinet opening, interior, and door swing define what can meet it.
Measure the cabinet opening, interior, and door swing as separate limits
An organizer must pass through the clear opening before it can occupy the larger cabinet interior.
How do you measure hinge intrusion and drawer travel?
- Gather a steel tape, painter’s tape, pencil, graph paper, straightedge, and phone camera.
- Open both doors fully. Measure clear opening width and height to the nearest 1/8 inch.
- Measure interior width at the front, middle, and back. Measure depth from the closed-door plane to the cabinet back. Measure height from the floor to the lowest obstruction.
- Record the width and position of any center stile. Measure each hinge at its greatest projection into the opening.
- Mark the organizer footprint with painter’s tape. Trace the frame, handle, basket lip, and full drawer-extension path.
- Move both doors through their full swing. Check the knobs, hinges, and stile against the marked path.
A cabinet measurement sheet prevents buying from nominal dimensions
Record the installed cabinet rather than the advertised vanity or countertop width. The same rule guides measure-first storage planning.
| Limit | Actual measurement |
|---|---|
| Opening width and height | _____ × _____ |
| Interior width, front/middle/back | _____ / _____ / _____ |
| Interior depth and usable height | _____ × _____ |
| Center stile width and location | _____ / _____ |
| Left and right hinge projection | _____ / _____ |
| Clear door and drawer path | _____ |
Use the same unit shown in the organizer specifications. Then place the plumbing on the measured cabinet map.
Map the drain trap, supply lines, and shutoff valves as fixed obstructions
Bathroom plumbing divides the vanity into irregular storage zones. Draw front and top views that include every pipe, trap, hose, connection, and valve.
A front-view plumbing map shows usable width and height
Draw the cabinet floor as a baseline and the opening edges as vertical limits. Measure from each wall to the center and outer edge of every plumbing component. Measure from the floor to the bottom and top of the trap. Divide the remaining area into left, center, and right zones.
Mark space for each valve handle to turn and for a hand or tool to reach serviceable fittings. Do not apply a universal clearance. Use the installed faucet, drain, trap, supply, and valve instructions with plumbing requirements adopted in your jurisdiction.
A top-view plumbing map shows usable organizer depth
Measure from the door plane to the nearest and farthest edges of the trap, hoses, valves, and wall connections. Add the proposed frame depth, drawer travel, basket depth, and rear mounting points. Mark raised lips, floor cutouts, soft panels, and damaged areas.
Do not move, bend, support, or load plumbing with an organizer. The remaining shapes are the usable storage zones.
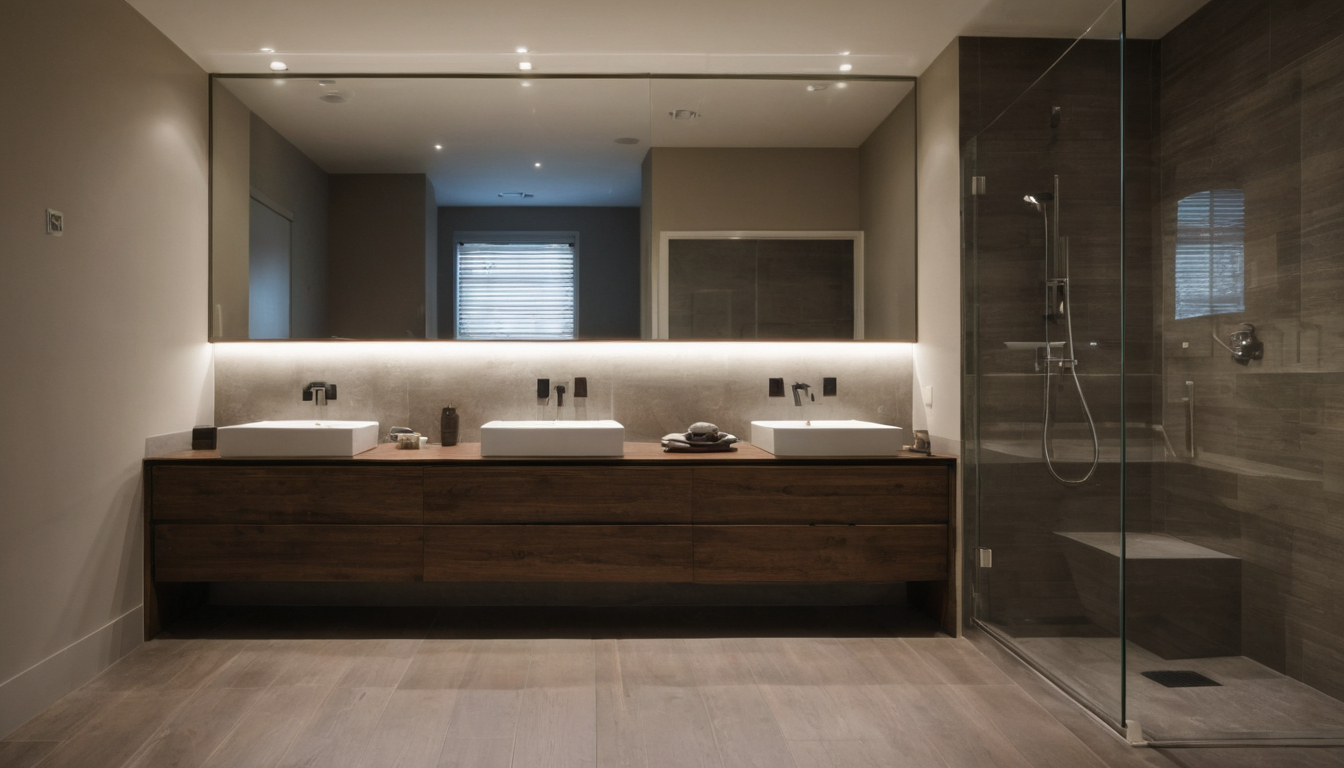
Map the drain trap, supply lines, and shutoff valves as fixed obstructions shown as a planning reference for layout, scale, and material decisions.
Choose under-sink drawers or stackable bins by verified fit and access
Choose an organizer only after its assembled dimensions, movement path, mounting method, and stated capacity match the obstruction map.
| Fit check | Pull-out drawer | Stackable bins |
|---|---|---|
| Opening | Manufacturer minimum | Widest exterior point |
| Depth | Frame plus full travel | Base plus removal path |
| Height | Complete assembly | Complete approved stack |
| Capacity | Per basket or complete unit | Per tier and stack limit |
| Access | Valves and trap remain reachable | Every tier remains removable |
Pull-out drawers work only with clear mounting and extension paths
Subtract hinge intrusion and plumbing zones from the clear opening. Compare the remainder with the manufacturer’s minimum opening and assembled frame dimensions. Read the installation manual for fastener type, screw locations, mounting-surface requirements, and full extension. Reject the drawer if a door, pipe, valve, or center stile crosses its travel path.
If installation requires an adhesive, coating, or finish that emits volatile organic compounds, increase ventilation during use as advised by the EPA guidance on volatile organic compounds.
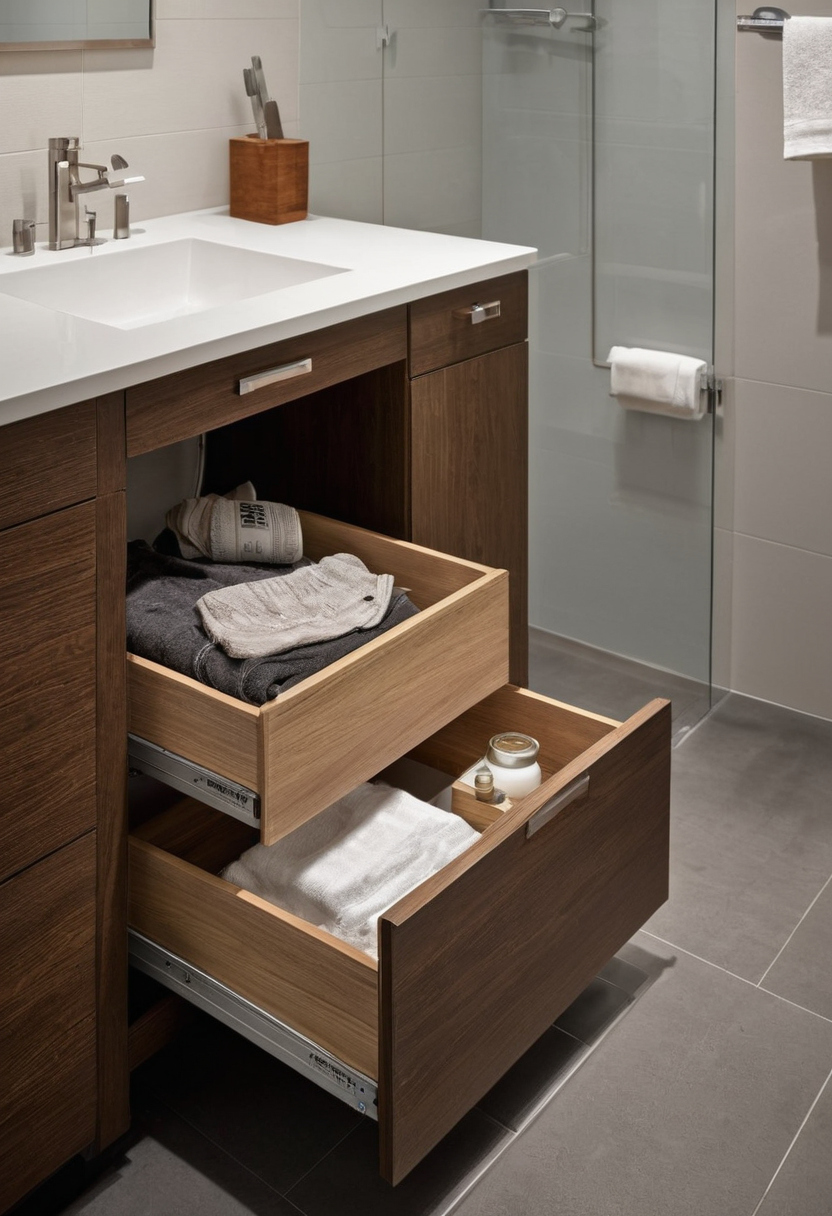
Choose under-sink drawers or stackable bins by verified fit and access shown as a planning reference for layout, scale, and material decisions.
Stackable bins work only when each tier remains removable
Compare exterior bin dimensions with the mapped zone. Compare usable interior dimensions with the tallest and widest bottles. Verify the approved stacking arrangement and maximum stack count. Test the upward and forward movement needed to remove every tier.
Keep medicines awaiting disposal separate from routine storage. The FDA says flushing applies only to medicines on its flush list when a take-back option is not readily available. Retail photographs and category names do not prove fit. A full-size template does.
Test the organizer footprint before drilling or ordering
A cardboard template exposes entry, travel, and lift-out problems that a tape measure can miss.
- Cut the footprint and vertical profile from the manufacturer’s assembled-dimension drawing.
- Insert the template through the opening. Open both doors. Trace full drawer travel or bin removal.
- Reach both shutoff valves and move each handle through its normal operating range.
- Place the planned bottles inside the template area and repeat the movement test.
- Proceed only if the cabinet is dry, sound, and suitable for the specified mounting method.
A dry-fit test must preserve emergency shutoff access
Both valve handles must remain visible and reachable without removing a fixed organizer. Stop and call a licensed plumber if a valve is seized, corroded, leaking, or inaccessible.
Mounted organizers require verified screw locations
Inspect below and behind the cabinet floor. Measure panel thickness. Match the manual’s holes, fastener diameter, fastener length, and pilot-hole size. Stop for hidden wiring, concealed pipes, damaged panels, active leaks, or uncertain drilling depth. Choose a freestanding organizer when safe mounting cannot be confirmed.
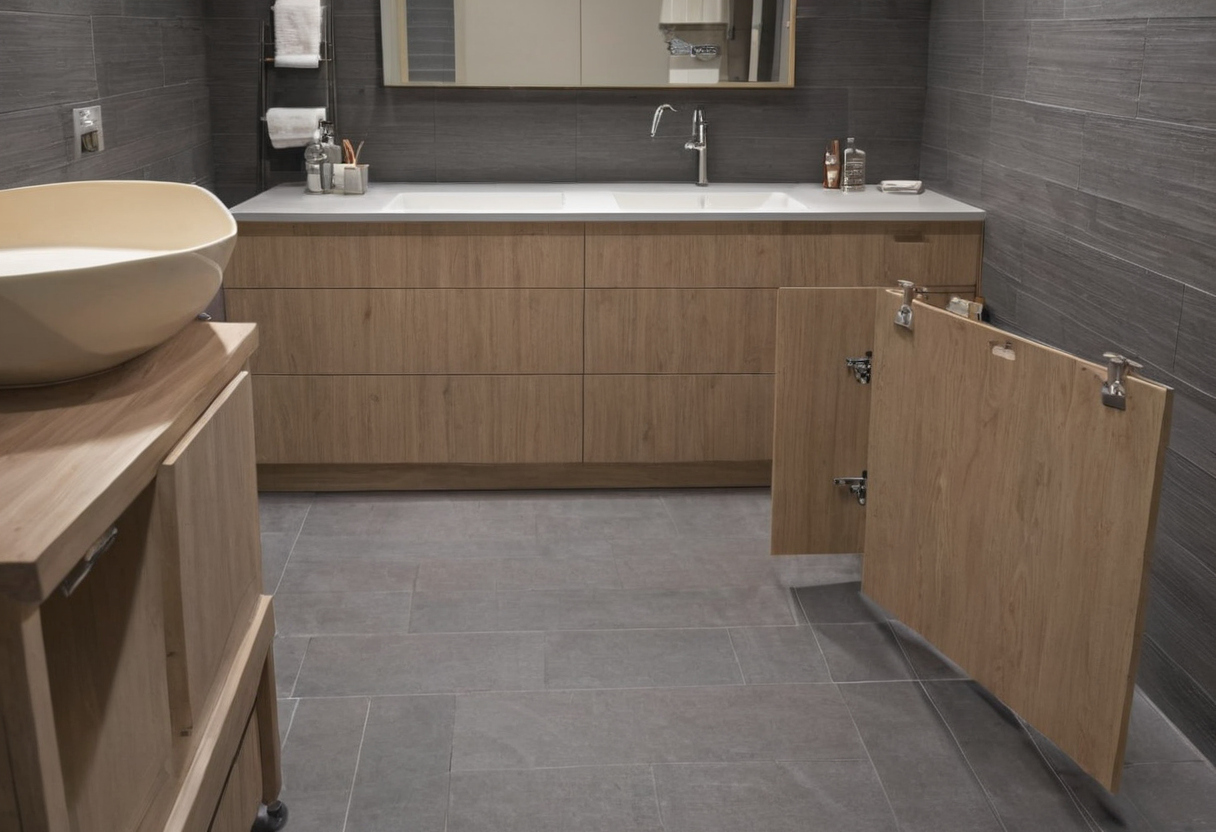
Test the organizer footprint before drilling or ordering shown as an editorial reference for proportion and finish coordination.
Assign bathroom products to zones without hiding leaks or overloading drawers
Load the cabinet by access frequency, bottle dimensions, and measured weight. Keep the floor visible below plumbing connections.
Daily products belong in the least obstructed storage zone
| Zone | Products | Placement test |
|---|---|---|
| Front | Daily products | Clear hand path |
| Side | Refills | No pipe contact |
| Full-height | Tall bottles | Remain upright |
| Restricted | Labeled cleaning products | Stored as the label directs |
Add the combined product weight and keep it within the manufacturer’s rated load. Verify whether that rating covers one basket, one tier, or the complete unit. Do not assume coated steel, plastic, or wood composite is waterproof or corrosion-resistant without a manufacturer specification.
Cleaning products, paints, varnishes, waxes, building materials, and furnishings can emit volatile organic compounds. Keep product labels and ventilation instructions available. For a clearer inspection view, an ENERGY STAR qualified LED can provide cabinet lighting while using at least 75 percent less energy and lasting up to 25 times longer than incandescent lighting, according to ENERGY STAR LED guidance.
A visible cabinet floor makes leak checks easier
Check the floor during routine bathroom cleaning. Look for moisture, swelling, stains, corrosion, odor, or dripping. The EPA advises fixing the moisture source, not merely cleaning visible mold. Its mold and moisture guide recommends drying suitable damp materials within 24 to 48 hours after a leak or spill.
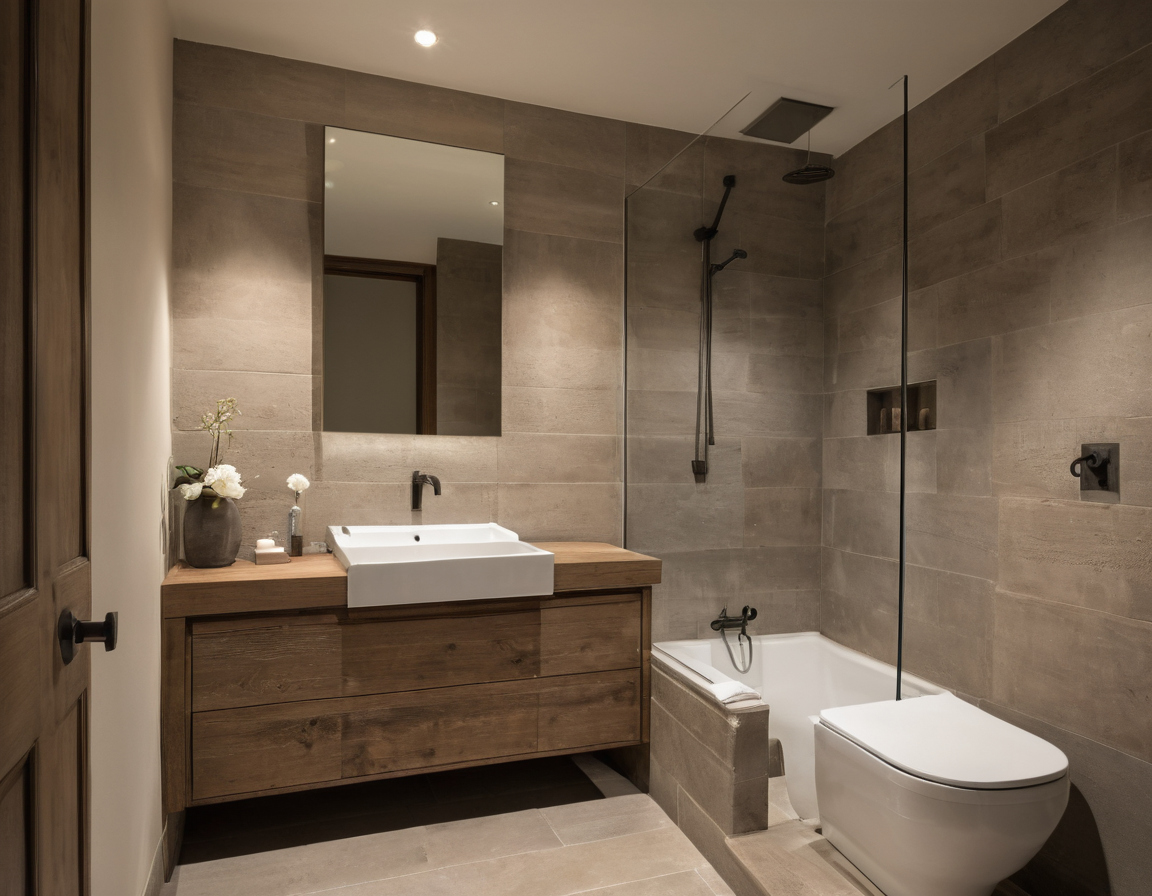
Assign bathroom products to zones without hiding leaks or overloading drawers shown with finish, fixture, and clearance relationships visible.
The practical decision is simple: buy and load from the obstruction map, not the vanity’s nominal size.
Frequently asked questions
How much clearance should an under-sink organizer leave around bathroom plumbing?
There is no universal organizer clearance. Follow the installed plumbing-component instructions and local requirements. Preserve enough room to inspect connections, operate valves, and service the trap without forcing or loading any component.
Can a pull-out drawer be installed if the bathroom vanity has a center stile?
Only if the clear opening on one side meets the drawer manufacturer’s minimum and the stile does not block installation or extension. Do not use the full interior width as the opening width.